Quickstart
This guide will help you deploy your first Battlesnake using a Python Starter Project and Replit.
Battlesnake developers can use any tech stack they'd like. If you do not wish to use Replit, feel free to follow along with your preferred setup! 😎
Don't feel like reading? You can follow along with a video version of this guide.
How does it work?
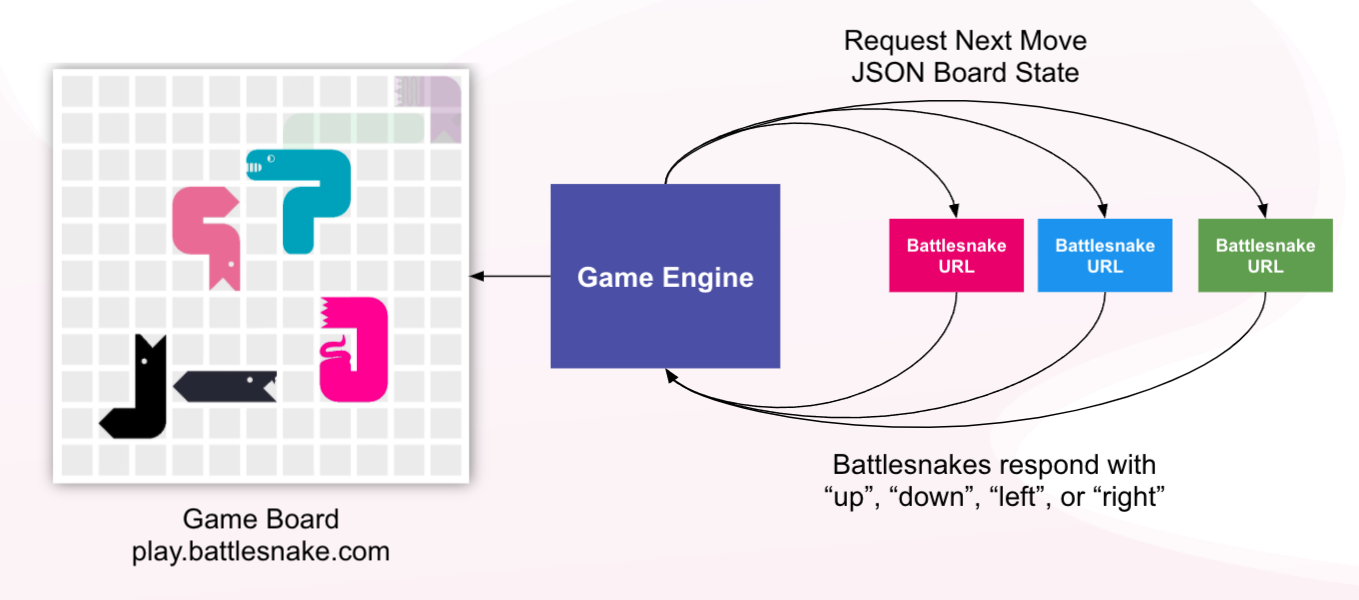
To play Battlesnake you'll need to build and deploy a web server that implements the Battlesnake API.
During each game, the game engine will send requests to your web server. The code you write to respond to these requests will determine how your Battlesnake behaves and ultimately whether you win or lose.
You can use any programming language, hosting platform, and algorithm you want - from highly optimized logic trees, to complex machine learning and AI.
1. Choose a tech stack and starter project
For your first Battlesake we recommend choosing one of the starter projects in a programming language you're comfortable with. These projects implement just enough code for a simple Battlesnake that moves randomly (and not much else).
Each starter project repo can be deployed to Replit using the Run on Replit button in their README.
If you're not sure which language to choose, try starting with JavaScript or Python as they're both widely supported and popular in the Battlesnake community.
2. Start your Battlesnake server
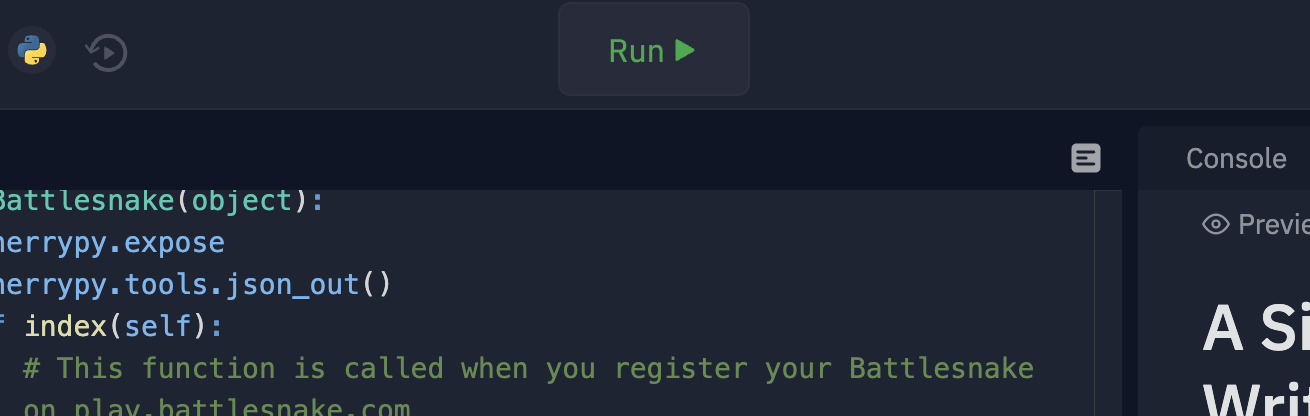
Once your project is ready to go in the Replit editor, launch your Battlesnake server by clicking Run at the top of the screen.
The first time you start your Battlesnake server you may see packages and dependencies being installed in the Replit console window. This may take a few moments, but will only happen on the first run.
Once installation is complete your Battlesnake server will start. You should see live output from your server, and its Replit URL should be visible at the top of the screen. You will need this URL to create your Battlesnake in the next step.
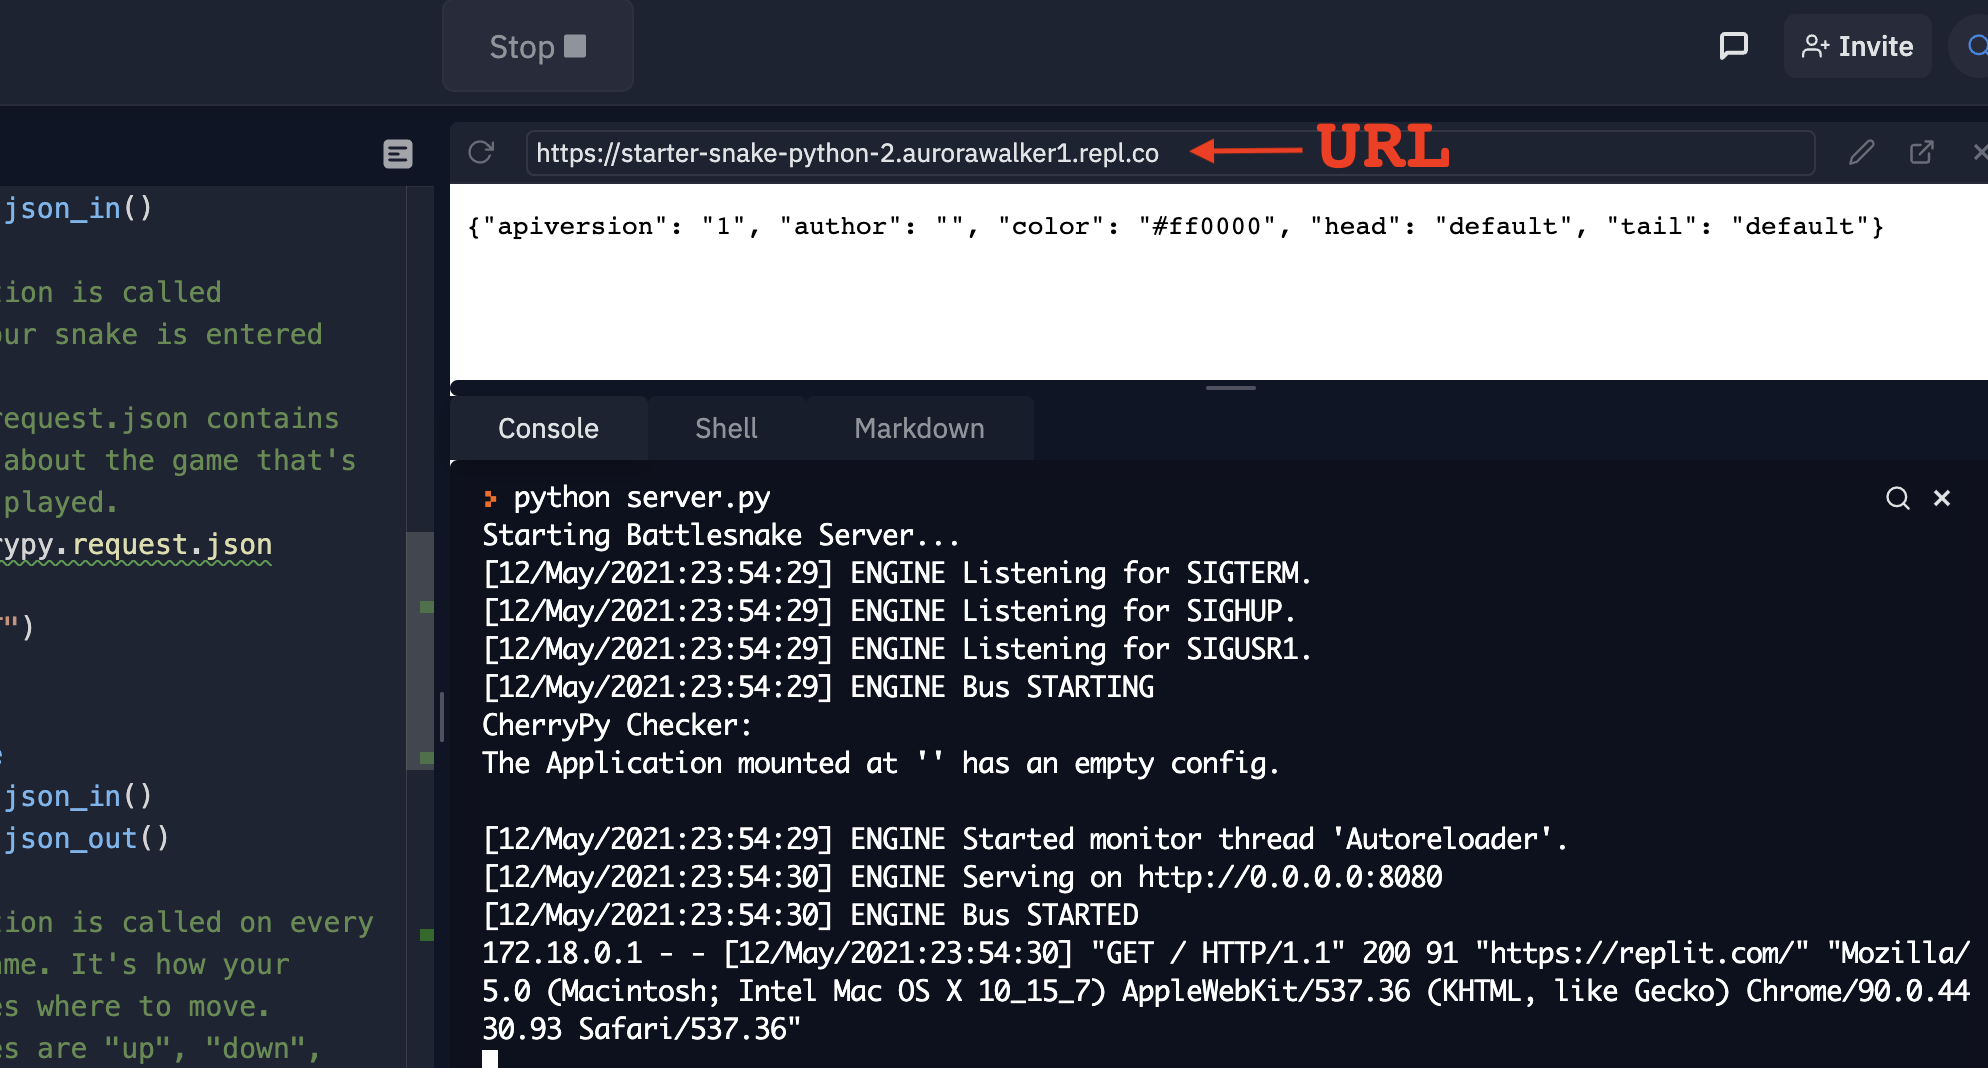
Opening your server URL in a browser should display some basic info about your Battlesnake.
{"apiversion": "1", "author": "", "color": "#888888", "head": "default", "tail": "default"}
This means that your Battlesnake server is running correctly and is ready to play games!
Keeping Replit open in a second window or tab while games are running is helpful for watching server activity and debugging any problems quickly.
3. Create your Battlesnake on play.battlesnake.com
Once you have a working URL, you can register it on the Battlesnake website and start playing games. You only need to register a Battlesnake's URL once - after that you can edit your code and restart your server as much as you'd like in between games.
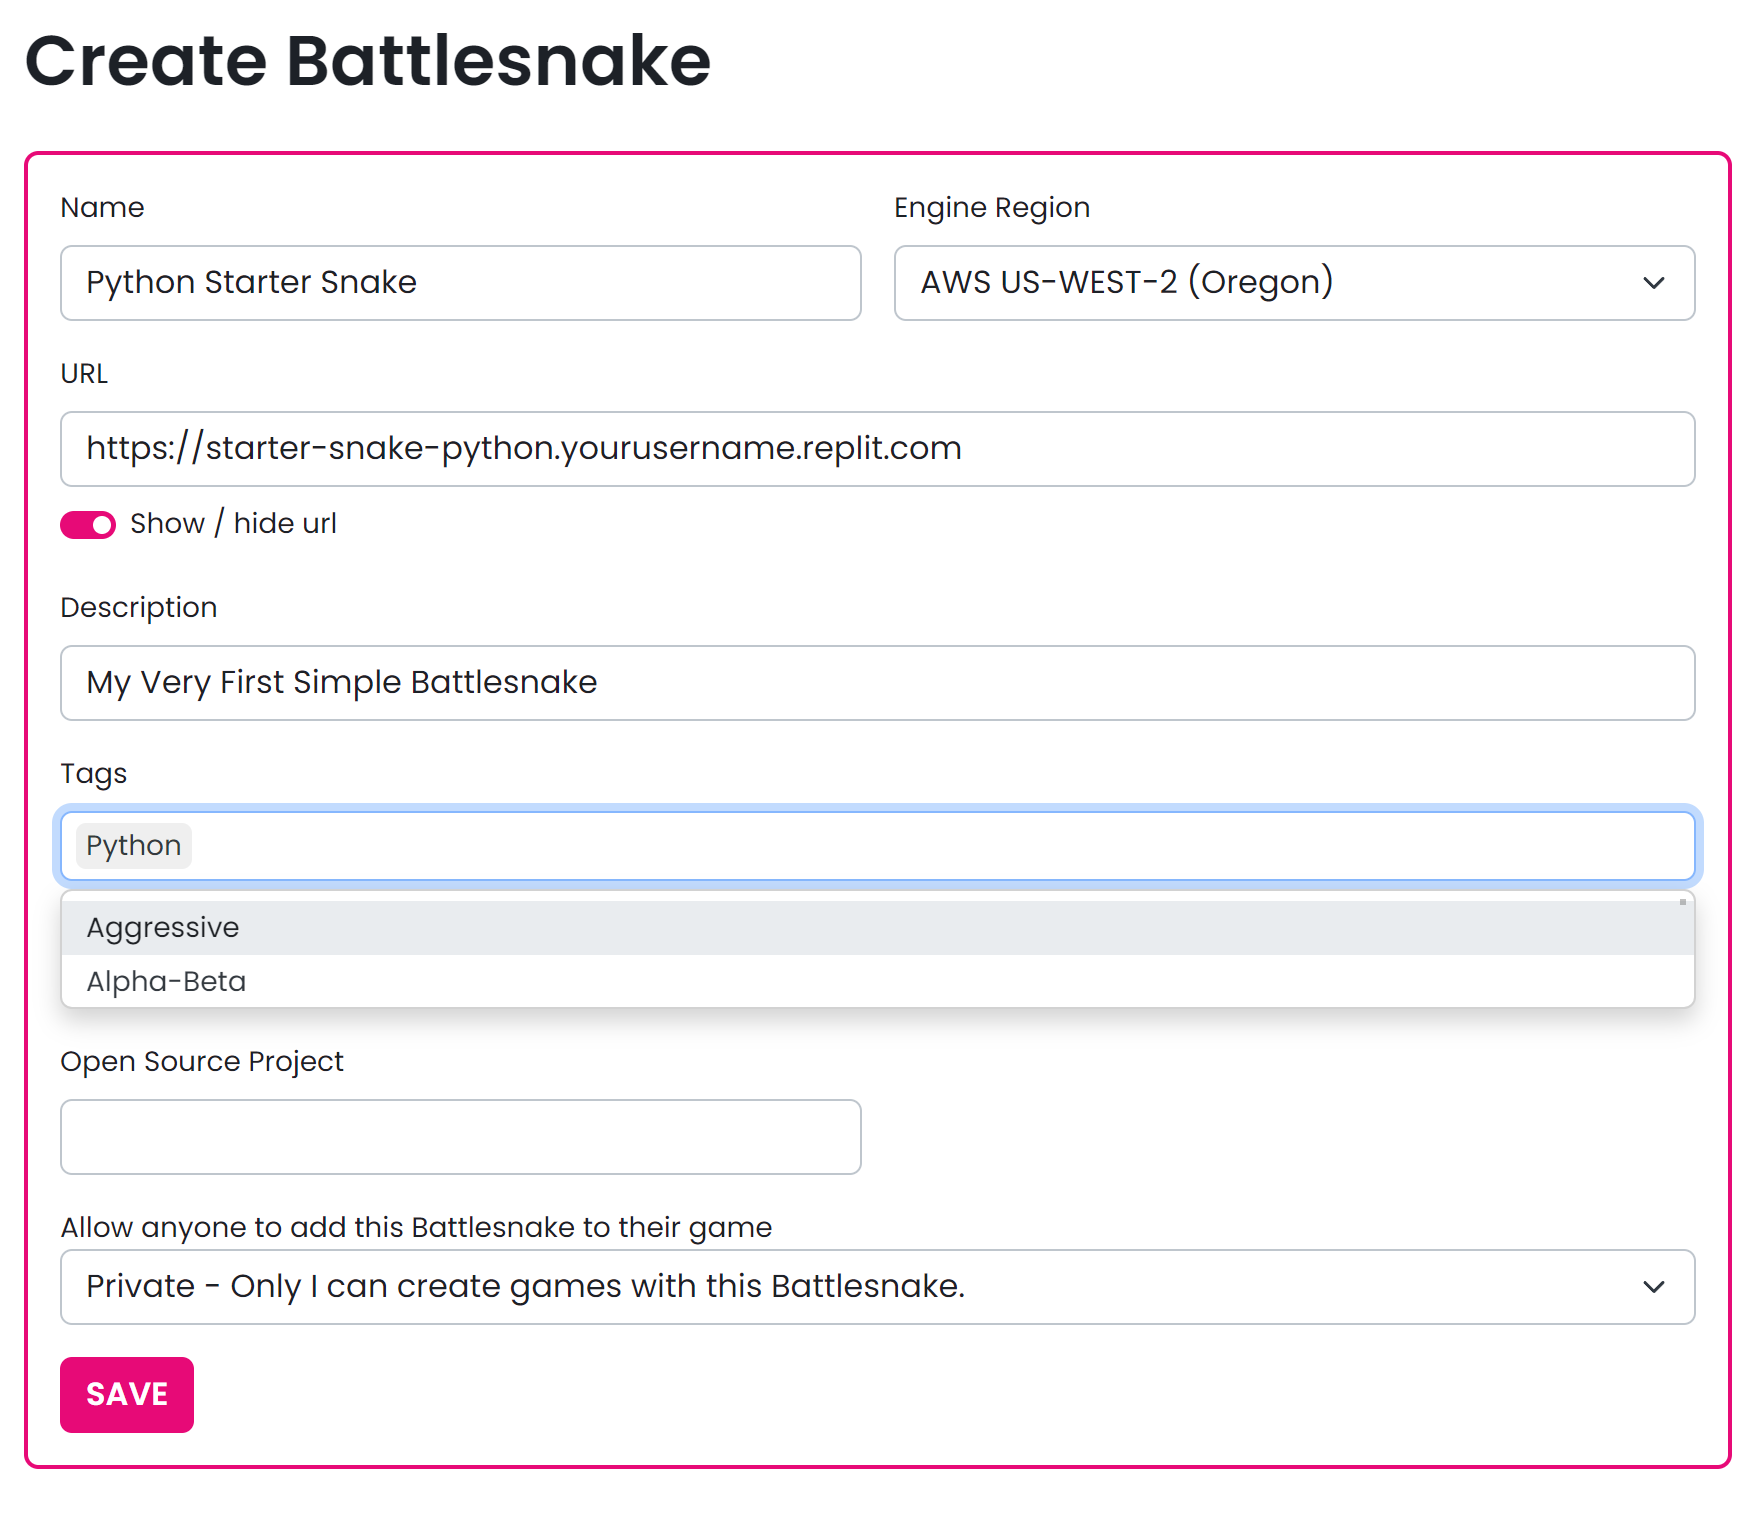
Create a new Battlesnake by going to play.battlesnake.com/account/battlesnakes.
Copy your server URL from Replit (see previous step) into the 'URL' field for your new Battlesnake. Next, give it a great name, a sassy description, and click save.
If you get an SSL error when loading your Replit Battlesnake server URL, try changing the https:// to http://.
If everything is set up correctly your Battlesnake will show as operational. Some additional information will also be displayed, such as the latency between the game engine and your Battlesnake server.
If there is ever a problem or error with your Battlesnake, you can make edits to your code or configuration and then click Ping to test it again.
4. Customize your Battlesnake
To make sure everything is working correctly you can edit your Battlesnake's appearance (head, tail, and color).
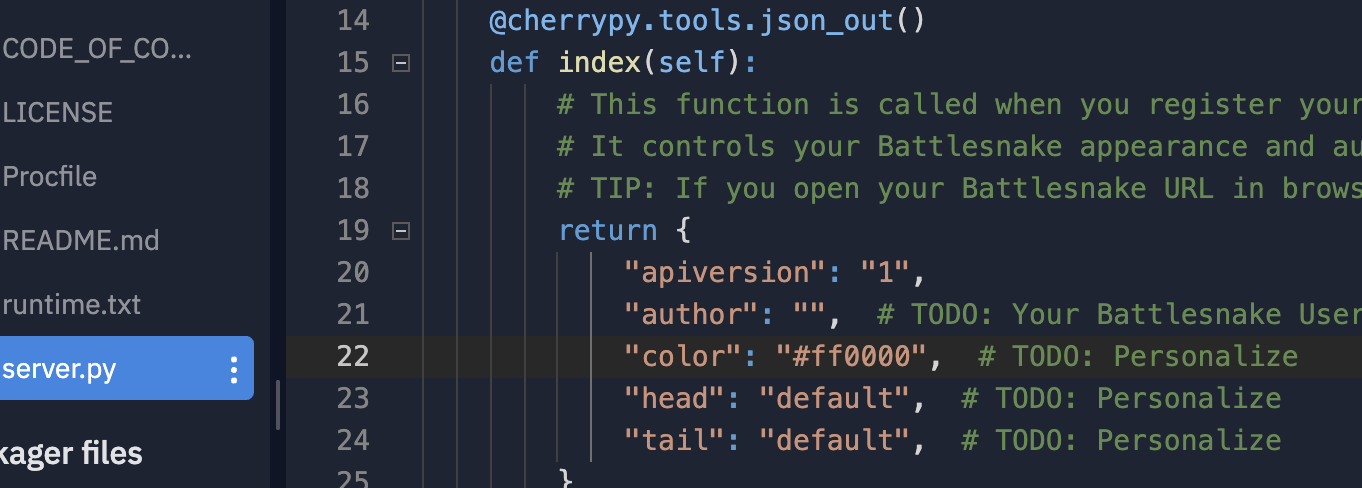
The README.md file in each starter project should describe where the customization code can be found. Customizations are returned by calling the root URL of your server.
You should see code that defines a head, tail, and color for your Battlesnake. You can change these values to be whatever you'd like, selecting from the customizations available on your account.
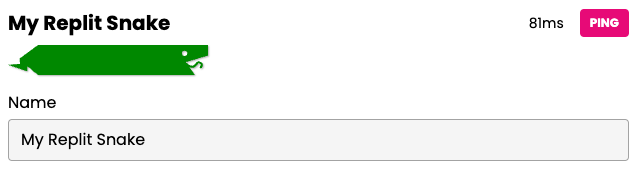
Restart your server and click the Ping button in your Battlesnake dashboard. Your Battlesnake should update to reflect your new appearance!
5. Play your first game
Your Battlesnake is now ready to play in live games! It's not very smart yet, but that's okay! Every prize winning Battlesnake has to start somewhere.
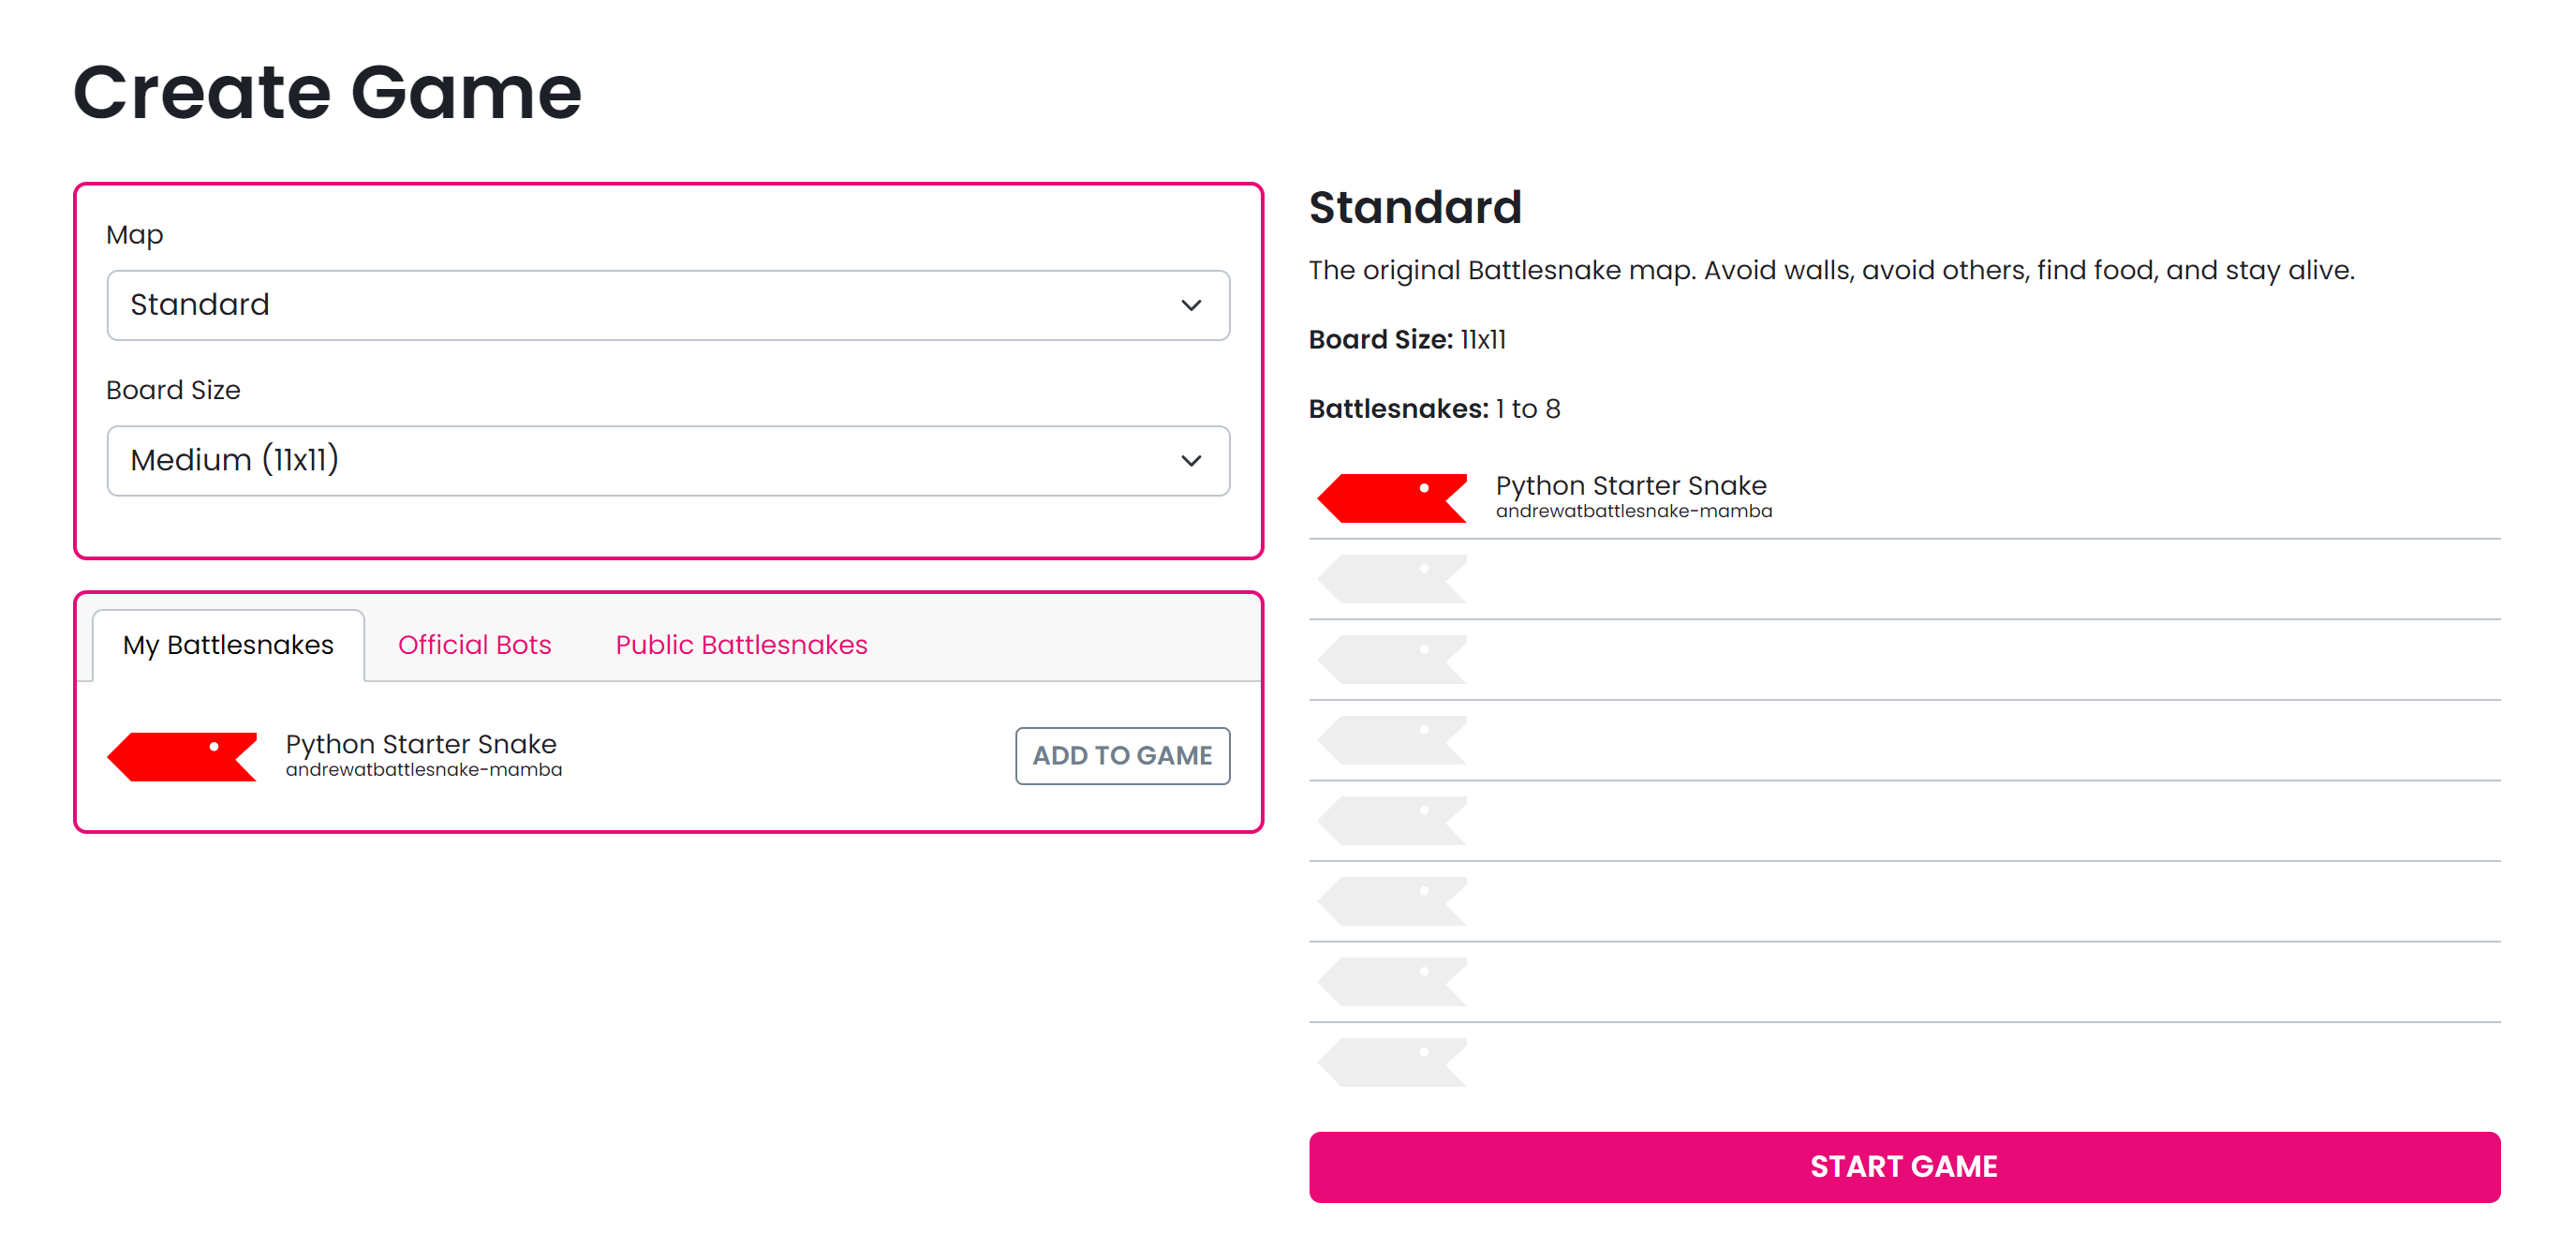
Create a custom game by going to play.battlesnake.com/account/games/create.
You should see your new Battlesnake in the list. Click 'Add To Game' to add it to the game, then click 'Start Game' to get rolling!
You should now see a game board that includes your Battlesnake (and any others you added to the game).
Click the ▶ button to start playback and watch your Battlesnake in action. You can also use the pause, forward, and back buttons to step through the game turn by turn. This can be very helpful when reviewing your server logs for each turn!
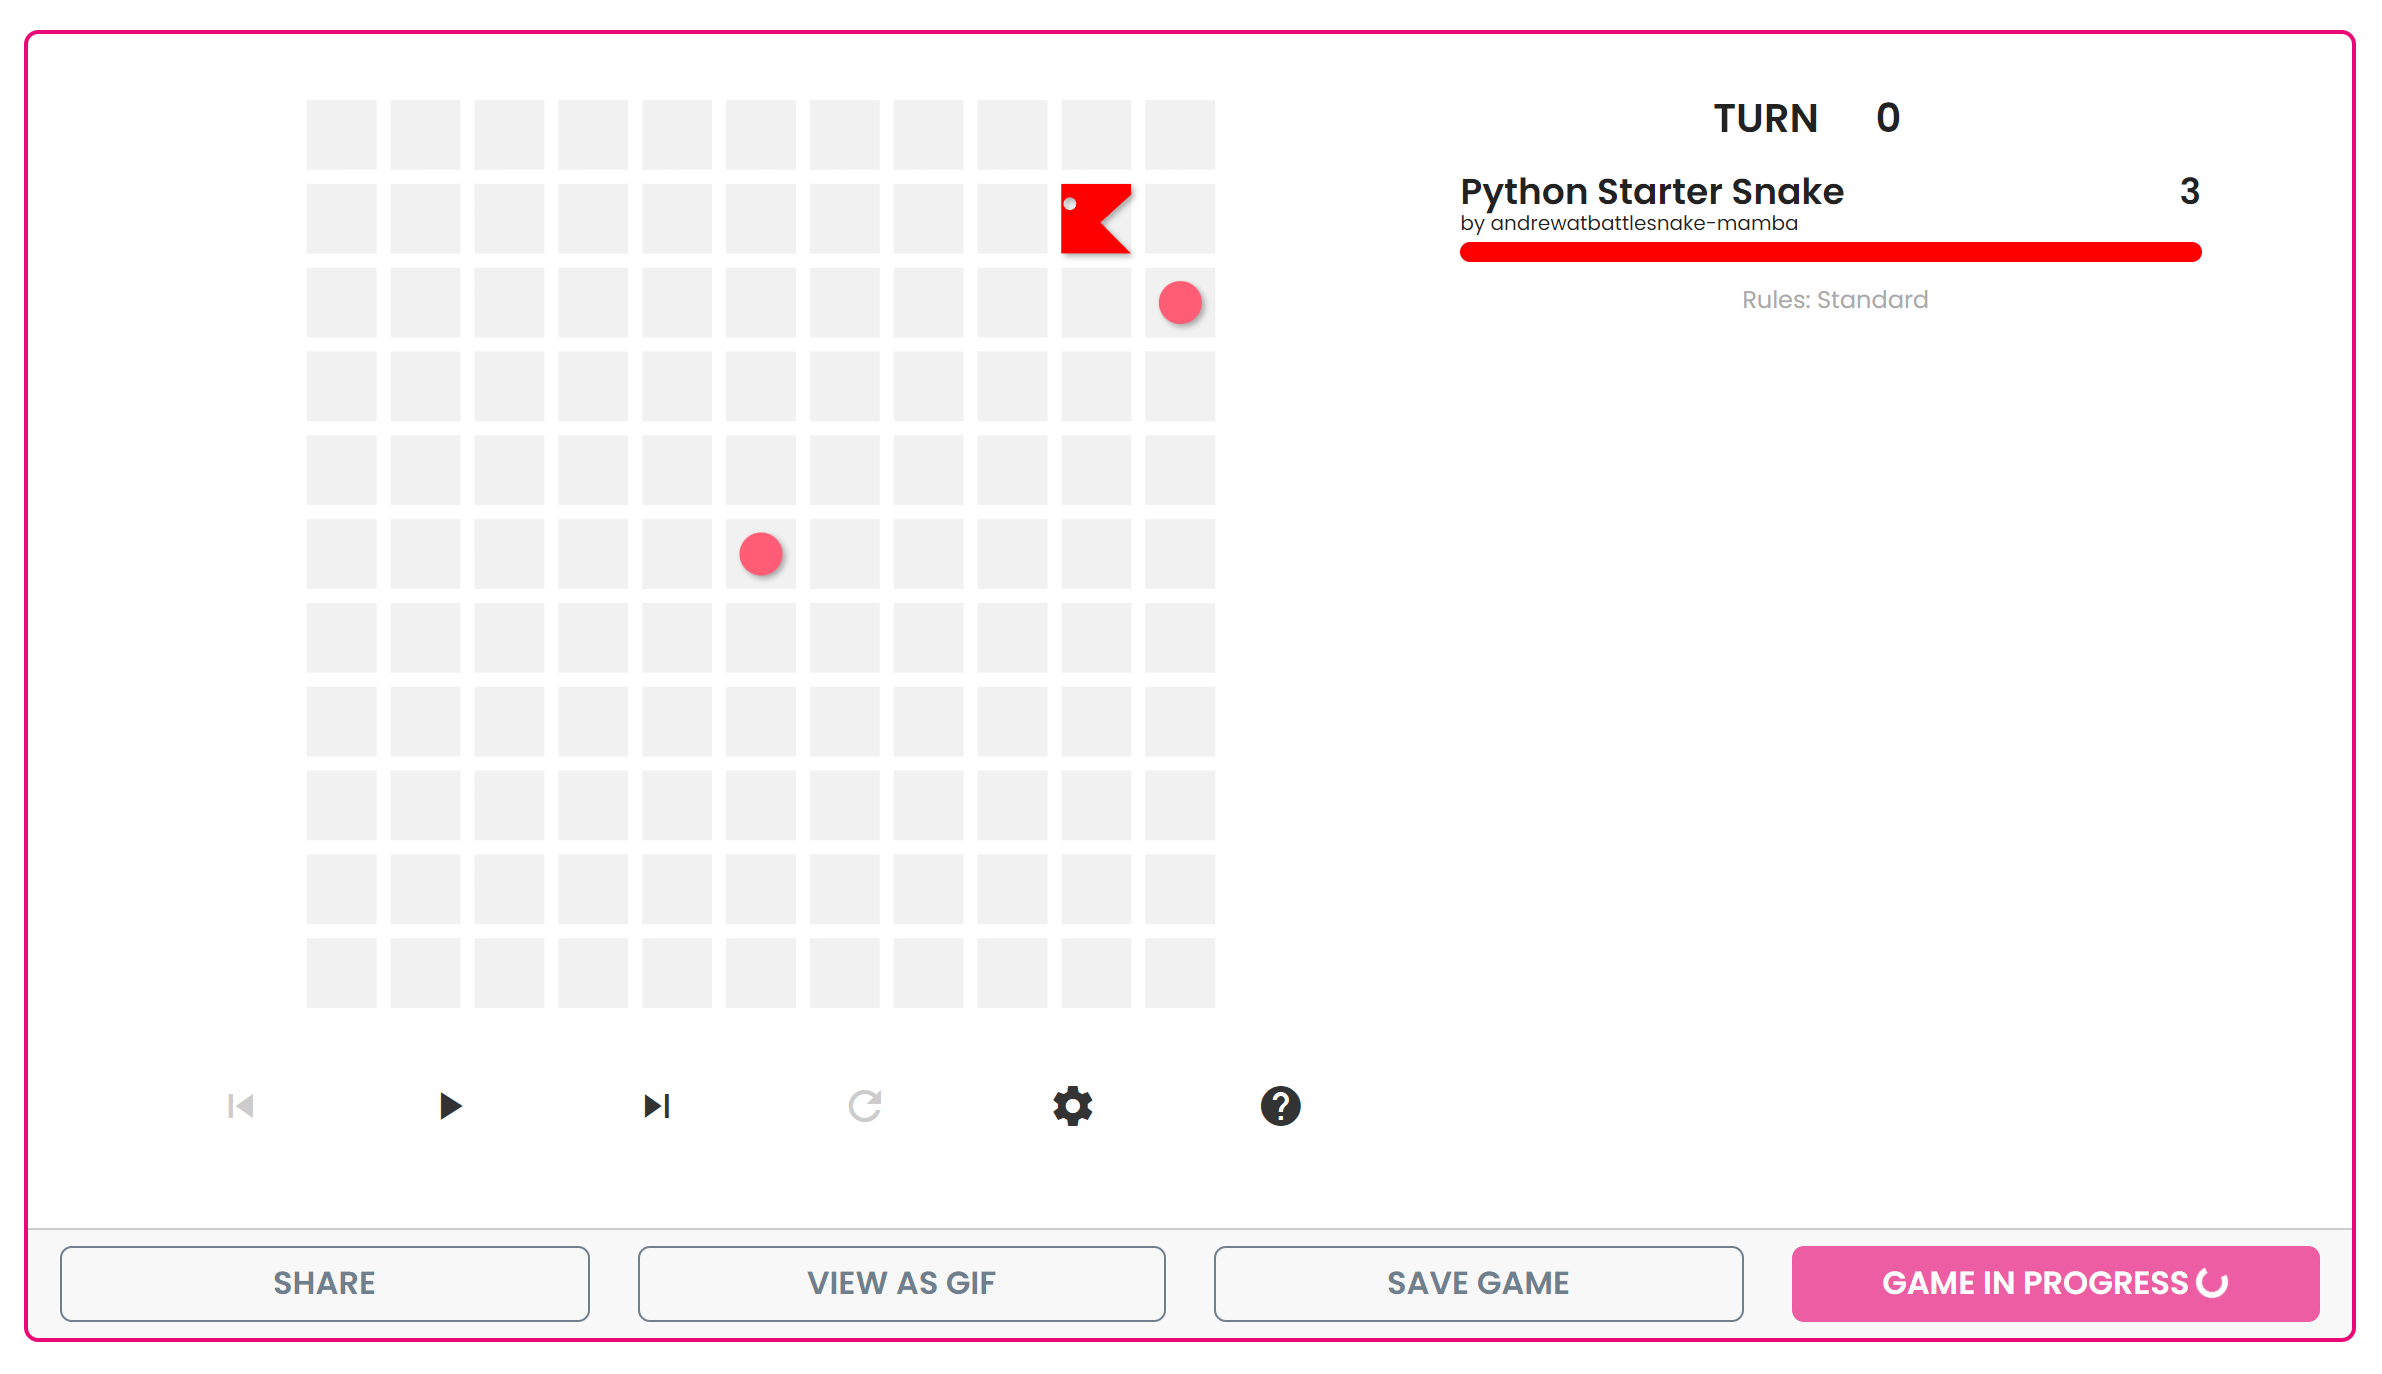
Once the game is complete, you can create a new game with the same configuration by clicking the Create Rematch button. There are also other options to share your game with someone else, download it as a GIF, and save the game as one of your favorites.
Congratulations! You've deployed your first Battlesnake! 🎊 🐍 💜
6. Making your Battlesnake smarter...
Now you're ready for the fun part -- making your Battlesnake a winner. Typical Battlesnake development looks like this:
- Decide how you want your Battlesnake to behave differently
- Program this behaviour into your server's move response
- Restart your server with the new changes
- Create a new game and test the new behavior
- Repeat until unstoppable
For example... you may want to not move out of bounds when your Battlesnake is close to the edge of the board. You can use your Battlesnake's body position and information about the game to detect this case and prevent it from making those moves.
Here are some great goals to help you develop and improve your Battlesnake early on. Completing these will help you become ready to join a competitive Leaderboard or play multiplayer against your friends.
- ✅ Avoid moving out of bounds
- ✅ Avoid colliding with yourself
- ✅ Avoid colliding with other Battlesnakes
- ✅ Try to move towards food
For details on how the move request and other requests work, we recommend reading through the Battlesnake API Reference.
Additional resources
This guide only scratches the surface of Battlesnake!
Check out the Battlesnake Game Rules and API Reference to make sure you understand how to program your Battlesnake to win the most games possible. You may have also noticed there are different Maps that provide different challenges for your Battlesnake.
You can also check out the Battlesnake Awesome List for more great Battlesnake resources. Anyone may contribute so feel free to share interesting resources or your own creations!
Good luck, and happy programming!